Step-by-Step Guide to Painting Over Dark Walls
Dark walls can make a room feel moody and dramatic, but they’re not everyone’s cup of tea. Whether you’re brightening a space for resale value or just craving a fresh look, painting over a deep color can feel intimidating. The good news? With the right prep and process, you can transform even the richest shade into a light, clean backdrop that makes your home feel airy and new.
In this guide, I’ll walk you through the exact steps to successfully cover dark walls—without streaks, endless coats, or frustration.
1. Clear and Protect the Space
Before you even touch a paintbrush, prepare your room.
- Move furniture away from walls or out of the room entirely.
- Cover remaining furniture and the floor with drop cloths.
- Remove outlet covers, switch plates, and any wall décor.
This prep work will save you from accidental splatters and allow for a smoother painting process.
2. Clean the Walls Thoroughly
Dust and grime are sneaky. They’ll keep paint from adhering properly and can cause peeling later on.
Mix a solution of mild dish soap and warm water. Use a sponge to gently scrub the walls, paying special attention to high-touch areas like around light switches. Rinse with clean water and allow to dry completely.
3. Sand and Repair Imperfections
Dark colors can hide wall flaws, but once you switch to a lighter shade, every dent and bump will stand out.
- Fill small holes or cracks with spackle.
- Sand the patched areas smooth with fine-grit sandpaper.
- Lightly sand glossy finishes to help the new paint bond better.
Wipe the walls again with a damp cloth to remove dust from sanding.
4. Prime Like a Pro
Here’s the secret to covering dark colors without 4–5 coats of paint: quality primer.
Choose a high-hiding, stain-blocking primer designed to transition dark to light. Many pros recommend using a tinted primer that’s close to your new wall color—it cuts down on how much paint you’ll need.
Apply the primer evenly using a roller for large areas and a brush for edges. Let it dry completely before moving on.
5. Choose the Right Paint
For the smoothest coverage, go for a high-quality interior latex paint. A matte or eggshell finish is forgiving of imperfections, while satin or semi-gloss can make walls easier to clean.
If you’re painting a light neutral over a deep color, expect to do at least two coats for the most even, professional look.
6. Apply the First Coat
Use a brush to cut in along edges, corners, and around outlets. Then, roll the paint onto the wall in overlapping “W” or “M” shapes to avoid roller marks.
Work in sections to keep a wet edge, which prevents visible lines between passes. Let the first coat dry per the manufacturer’s instructions.
7. Apply the Second Coat and Touch Up
The second coat will even out any thin spots and bring out the paint’s true color. Once dry, inspect the walls under good lighting and touch up where needed.
Reinstall outlet covers, switch plates, and move your furniture back into place.
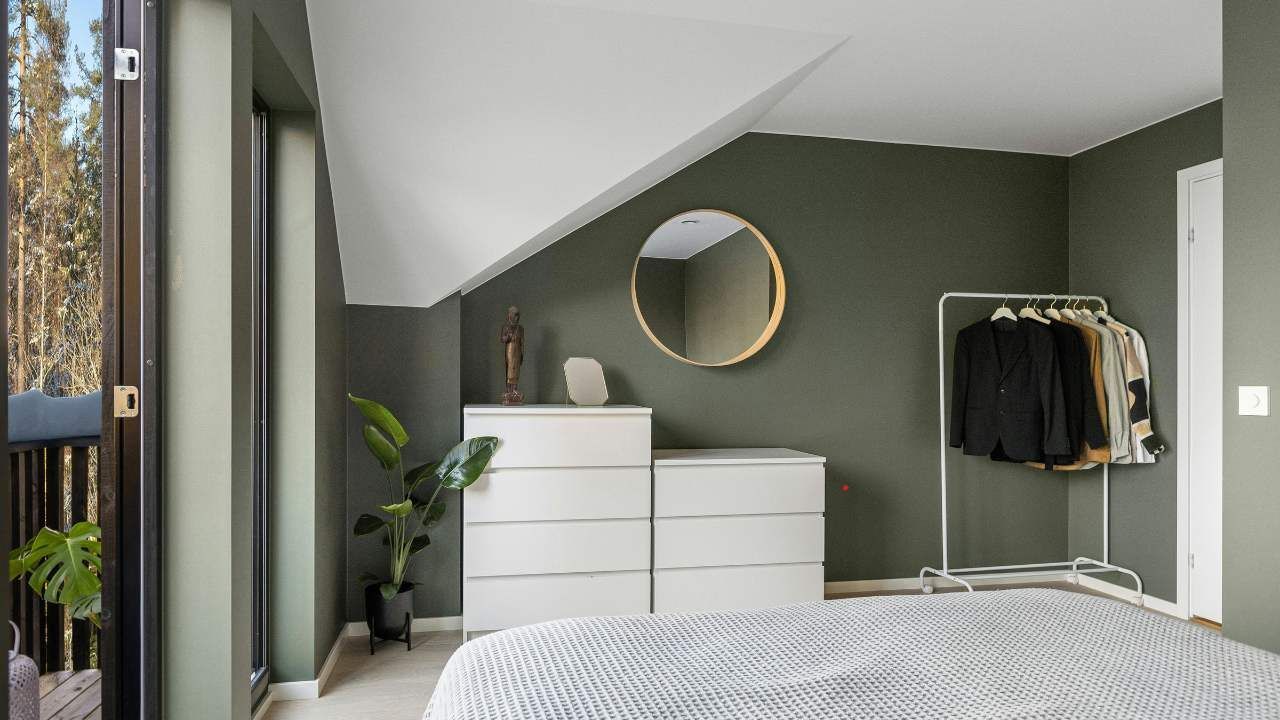
Case Study: From Moody to Bright in Stillwater
One homeowner in Oklahoma wanted to replace their deep navy living room walls with a warm beige to brighten the space. They hired Mancini Custom Painting, a team well-known for house painting Stillwater OK residents rely on. By following a strict prep routine and using a tinted primer, they achieved flawless coverage in just two coats. The result? A welcoming, open feel that completely transformed the room—without a trace of the old color bleeding through.
Final Tip
If painting feels overwhelming, don’t hesitate to call in a pro. Whether you’re hiring a local home painter or a Knoxville home remodeling contractor, the right expertise can save time and guarantee results that last for years. Contact us to discuss your project.
Ready to turn your dark walls into a bright, beautiful backdrop? Gather your supplies, follow these steps, and enjoy your home’s fresh new look.
You may also want to read...