The Homeowner’s Guide to Vinyl Siding Installation: What to Expect
If you’re dreaming of a fresh, low-maintenance exterior for your home, vinyl siding might just be your best friend. It’s durable, affordable, and comes in a wide range of styles and colors to boost your curb appeal — but what exactly happens during installation? Let’s break it down so you know exactly what to expect.
In this guide, you’ll learn:
- How to prepare for a vinyl siding installation
- What the process typically involves
- Tips to protect your investment for years to come
Whether you’re planning to DIY or hire a pro, this step-by-step look will help you feel confident every step of the way.
Preparing for Vinyl Siding Installation
Before a single panel goes up, some groundwork is needed to set the stage for a smooth job. Here’s how you (and your contractor) can prepare:
- Inspect the home exterior. Any existing damage, like rotted wood or water leaks, should be repaired before installation.
- Clear the work area. Move outdoor furniture, planters, and other items away from the house to give workers space.
- Notify neighbors. Let them know there might be some noise and activity for a few days.
- Discuss expectations. Go over the project timeline and cleanup plan with your contractor ahead of time.
A bit of prep goes a long way to make sure the installation stays on schedule and avoids costly surprises.
What Happens During Installation?
Once your home is prepped, the real transformation begins. Here’s a rundown of what typically happens:
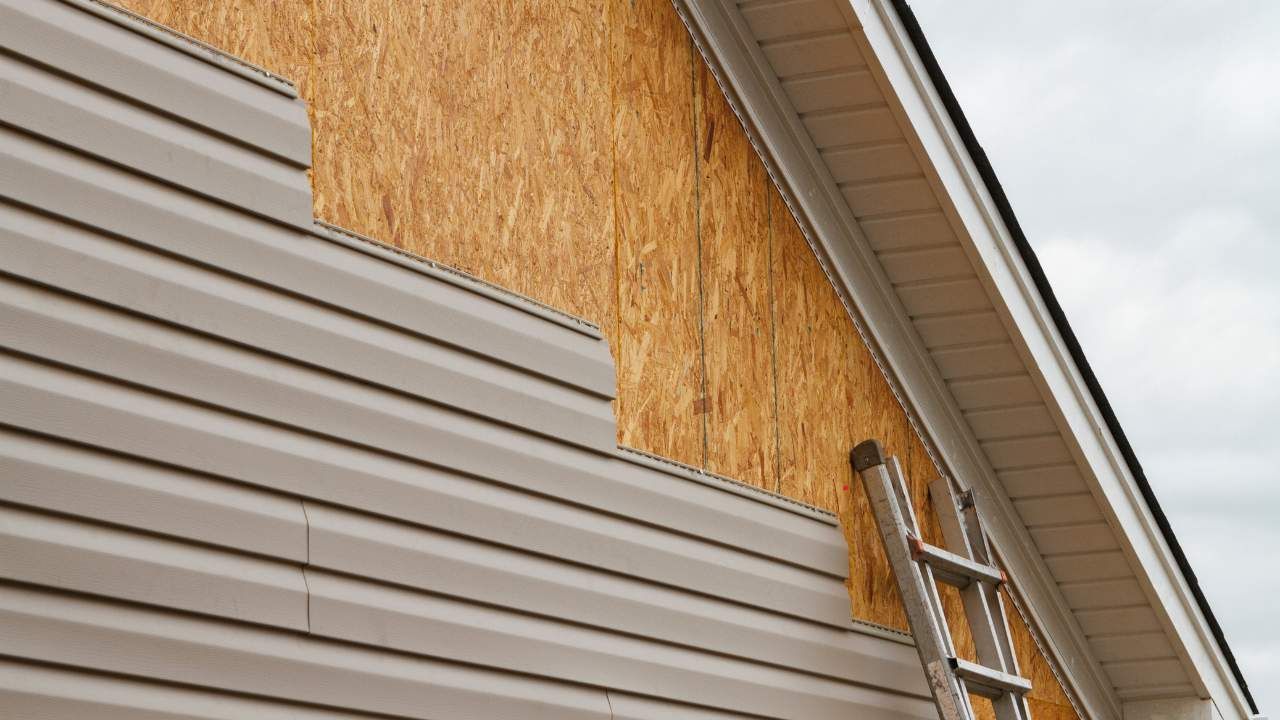
- Removal of old siding (if present): The installers will carefully remove existing siding materials, checking for any hidden damage to the structure.
- Wall preparation: Underlayment or a moisture barrier is applied to protect your home from water infiltration.
- Starter strips and trim: These critical pieces go on first to ensure a neat, level look and protect vulnerable edges.
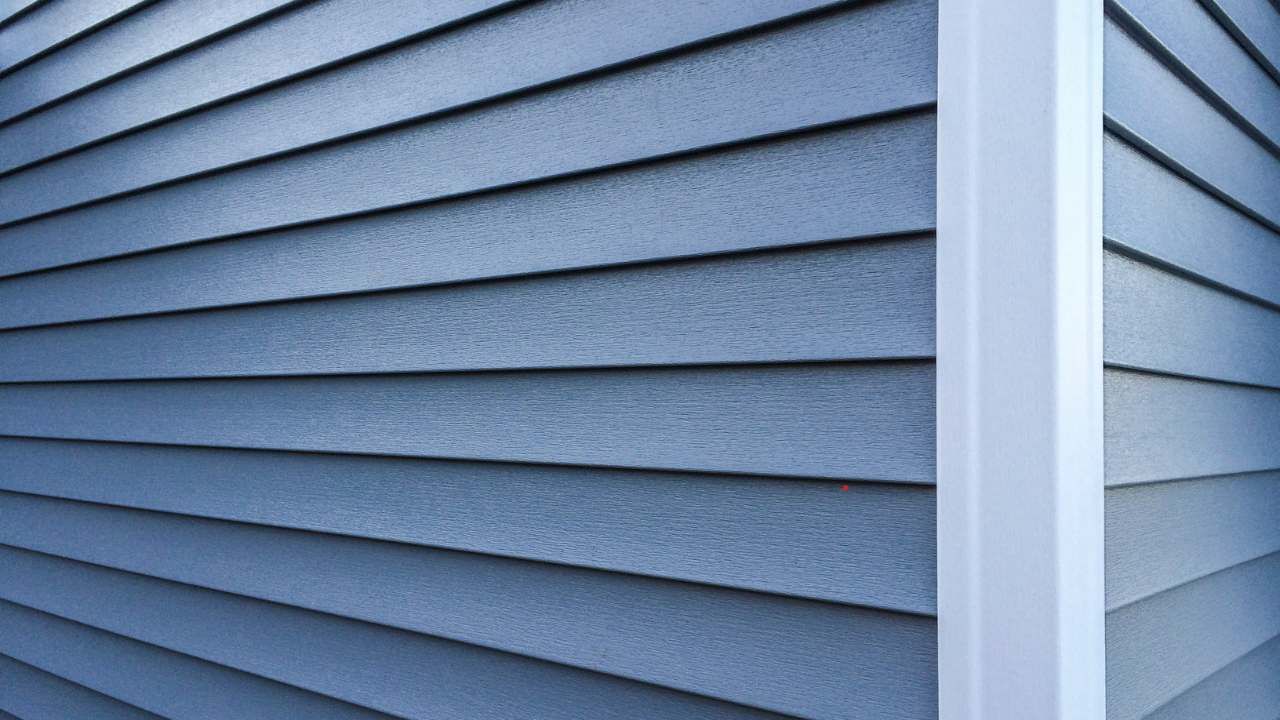
- Siding panel installation: Working from the bottom up, the crew will install the vinyl siding, overlapping pieces to lock out water.
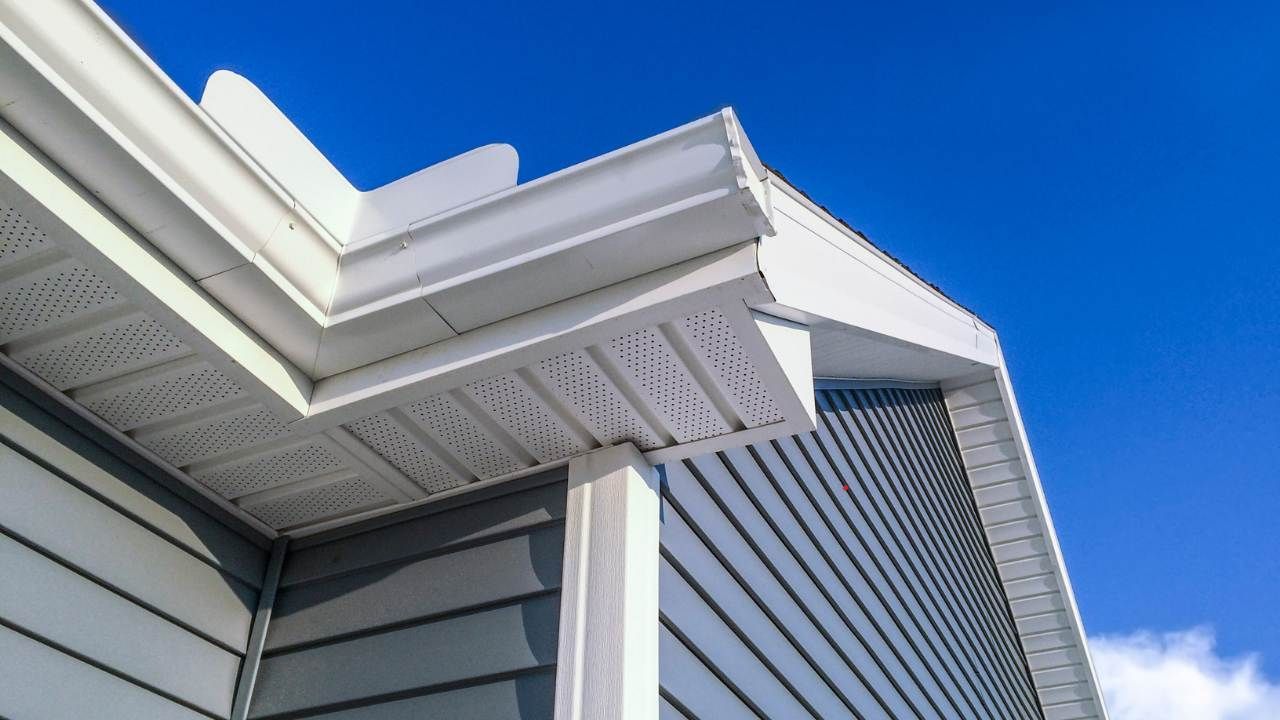
- Detail work: Corners, window frames, and door trims are sealed and finished for a polished appearance.
Most vinyl siding projects take between three to seven days, depending on your home’s size and the weather.
Keeping Your Vinyl Siding Looking Its Best
Once your new siding is up, you’ll want to protect your investment. The good news? Vinyl siding is low-maintenance compared to wood or fiber cement. Here’s how to keep it looking sharp:
- Wash it once a year. A garden hose and soft brush will do the trick to remove dirt and pollen.
- Check for damage. After storms, give your siding a quick once-over for cracks or loose panels.
- Avoid harsh chemicals. Stick with gentle cleaners to avoid discoloration.
If you ever decide to refresh the look of your exterior, even with vinyl, a painting contractor Stillwater OK specialist such as Mancini Custom Painting can help coordinate trim accents or exterior detail work. They offer painting services that can complement and highlight your new siding beautifully.
A Quick Case Study
When the Johnson family in Stillwater chose vinyl siding for their 1980s ranch-style home, they were worried about the disruption. But after meeting with a reputable vinyl siding installer, they felt confident. The team removed their old wood siding, installed fresh insulation, and completed the vinyl siding installation in just five days. Not only did it give their home a modern facelift, but it also improved energy efficiency and reduced yearly upkeep costs.
Vinyl siding is one of the simplest, most budget-friendly ways to transform your home’s exterior while protecting it for years to come. Whether you go bold with a new color or stick with a timeless classic, knowing what to expect makes the process far less stressful.
Ready to take the next step? Talk to a professional contractor today to get an estimate and bring your exterior vision to life!
You may also want to read...